

This is a beginner sewing project for ladies.
Everyone have their own credit cards, ATM cards, ID cards or any visiting cards. So, lets make a small pouch to keep those cards safely.
It is handy to use in a clutch or handbag.
This would make a good photo tutorial, easy to follow and sew!
Materials Needed:

Materials Needed
Fabric ( Cotton is preferable)
For Interfacing:
1.Thick cloth (Gaada cloth)
2.Canvas sheet (Collar sheet)
For Closure:
Velcro (2 1/2 ”)
Matching thread , scissor and sewing machine
Tutorial
Measurements:
First, let us cut the measurements in a chart or cardboard. Use that chart pattern to cut the fabric. Refer the image below.

Measurements
1. Outer Fabric – cut 1 piece
Interfacing – cut 1 piece
Height = 6”
Width = 4 1/2”
2. Inner Fabric – cut 1 piece
Decrease the height by 1”.
Height = 5”
Width = 4 1/2 ”
3. & 4. Two fabric pieces for pockets.
When cutting fabric for the pockets, make sure you fold the fabric as shown in the chart above and then take the measurements.
3. Pocket 1 (Big pocket)
Fabric – cut 1 piece (Top – fold)
Interfacing – cut 1 piece
Width = 4 1/2 ”
Height = 2 3/4 ”
4. Pocket 2 (Small pocket)
Fabric – cut 1 piece (Top – fold)
Interfacing – cut 1 piece
Decrease the height by 1/2 ”
Width = 41/2”
Height = 21/4”

Fabric pieces
Note in the above pic, the top of the two pockets have been folded as mentioned before.
Cut the canvas sheet by 1/4” or 1/2 ” and iron them to the Gaada cloth as shown above.
Step 1:

Step 1 – Attaching the velcro
Sew the velcro on the small (2nd )pocket to one side (not the folded side) leaving 3/4”
(the pocket is not folded in the above pic.)
Sew the velcro(soft side) to the inner fabric leaving a 3/4” from the top
Sewing lines are given in bold black.
Step 2:

Step 2 – Top stitching the pockets
Keep the interfacing inside the pockets, fold and top stitch along the bold line.
Step 3:

Step 3 – Aligning the fabrics
Align the fabrics as shown in the above order.
1.Keep the outer fabric right side up.
The interfacing is kept below the outer fabric.
2.Keep the small pocket right side down ( Velcro side down).
3.Keep the bigger pocket right side down.
4.And the inner fabric right side down.
The following images will now guide you through the process.
Step 4:

Step 4
Step 5:

Step 5
Now the whole picture will look like below.
Make sure the base and the corners all match up.
The small pocket ( with the velcro) is not visible, it is inside the big pocket.

Step 5 – Outer fabric with two pockets
Step 6:

Step 6 – Sewing all sides
Now place the inner fabric right side down and stitch along the bold line.
I used a 1/4” seam allowance.
Note that the bottom of the inner fabric is above the stitch line, so we can turn it inside out through that gap.
Step 7:

Step 7 – Clip corners
Step 8:
Now is the last step, turning each fabric inside out.
Follow the images.

Step 8 – Turning the inner fabric

Step 8 – Turning the bigger pocket

Step 8 – Turning the small pocket
Turn the last smaller pocket.
You could use a pointed tool to push out the corners.
Iron both the sides.

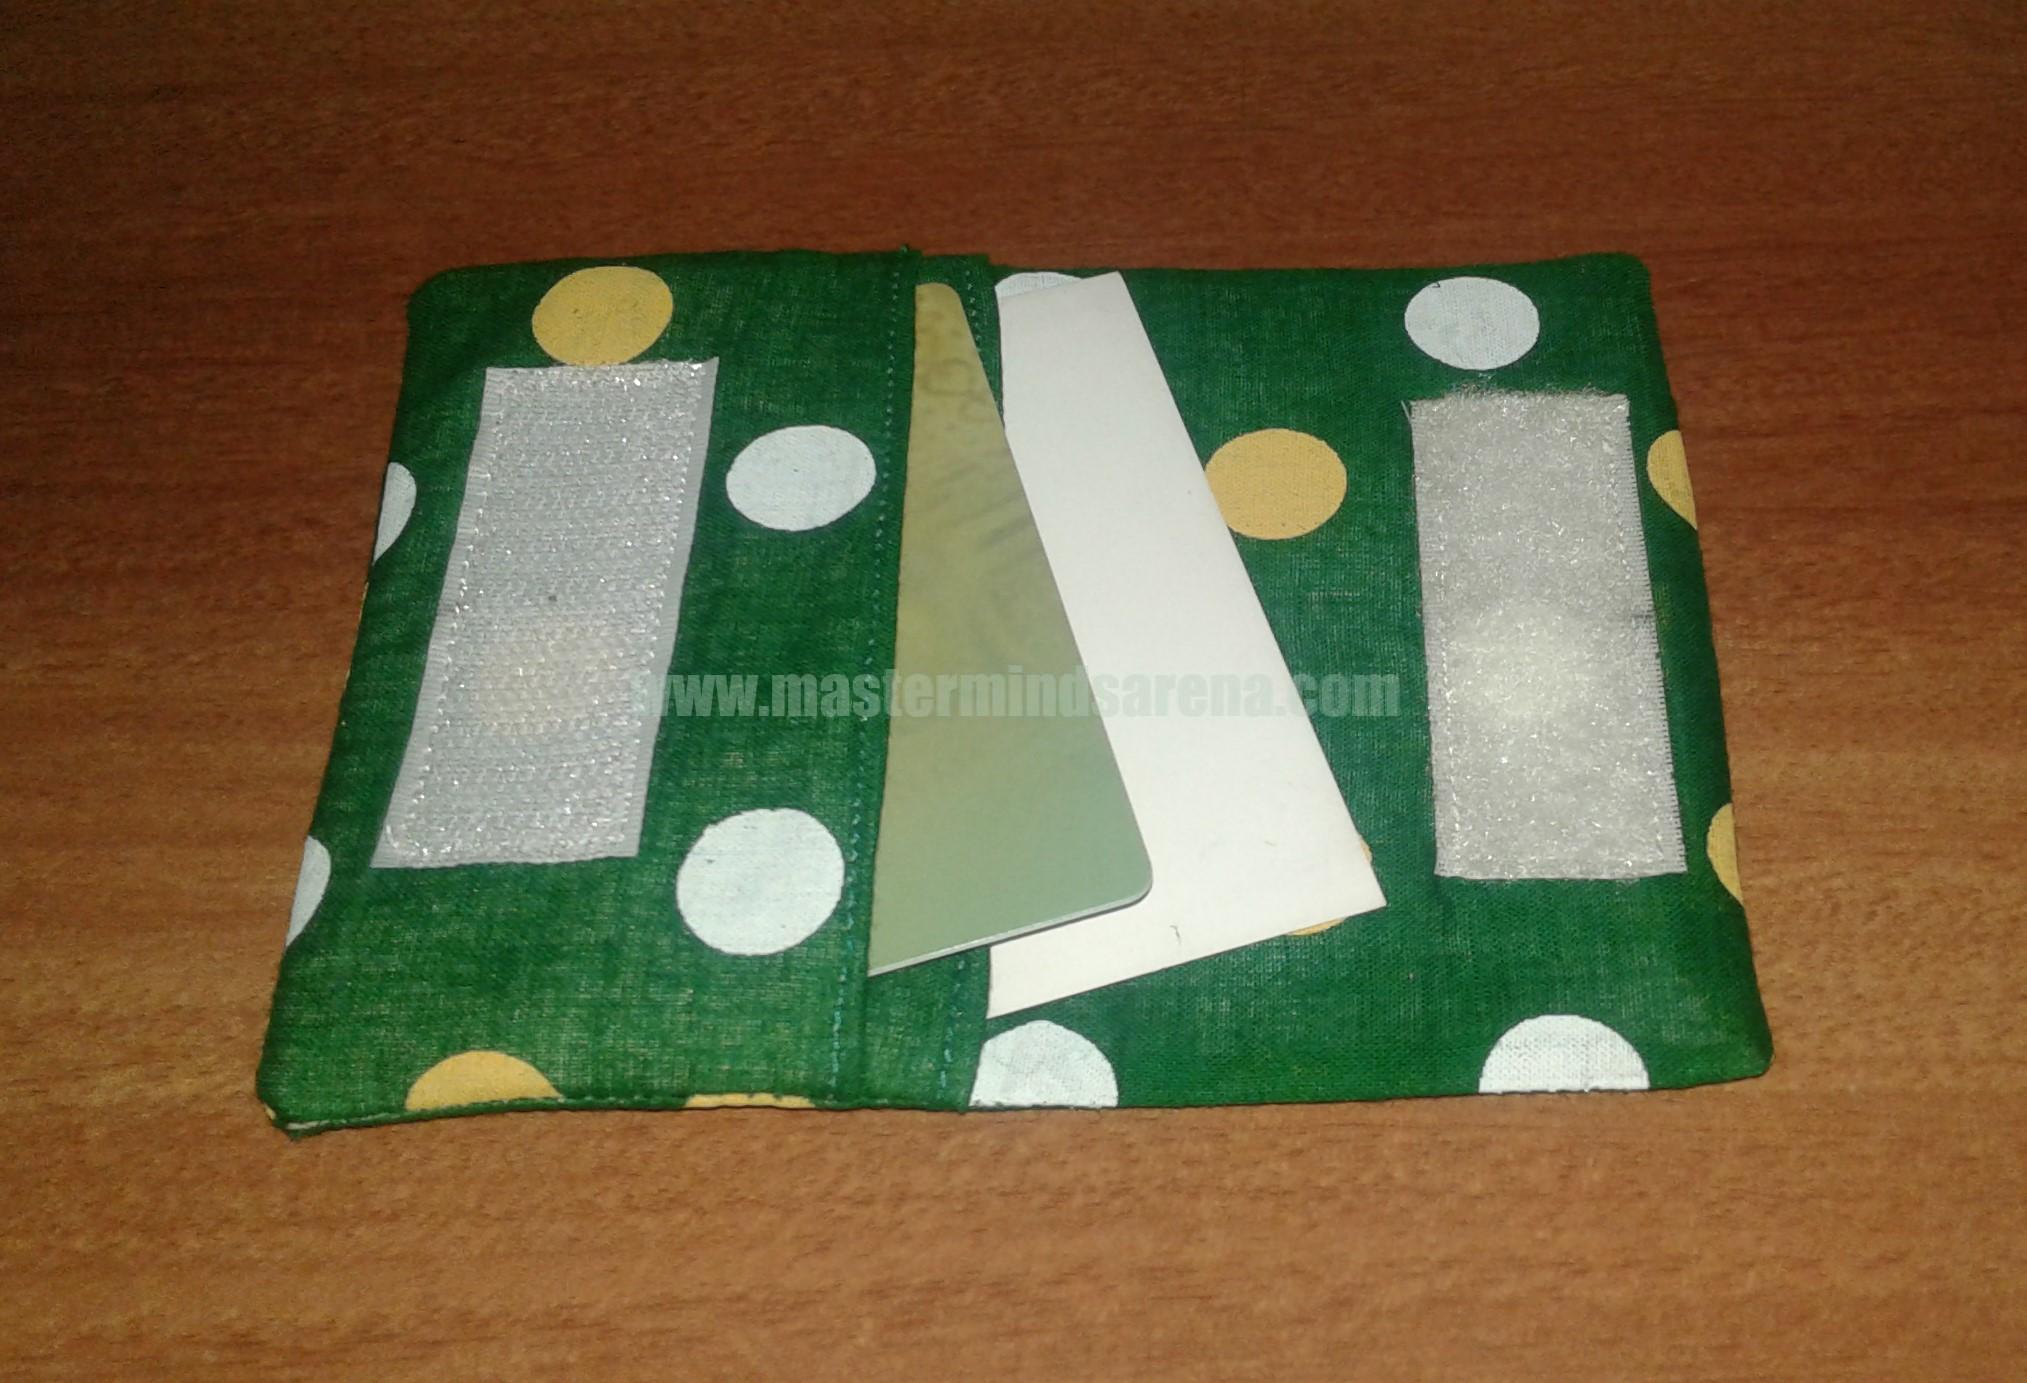
Fabric Card Holder – Front view
Your cute little card holder is now ready!!!
You could fit 2 or 3 cards in each pocket.
Note:
You can also use Foam Sheet (Sponge Sheet) for interfacing.
Other alternative options for Velcro are Press buttons or a button & loop
At last you can top stitch around the flap or not. Either way it will look fine.
Fully Completed Fabric Card Holder